NSD 2015 with Studio Calico

I am so excited to finally share my role in National Scrapbook Day at Studio Calico!  I am one of several members who have been asked to host a challenge on the message boards.  You can find my challenge here.

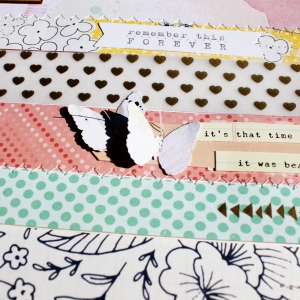
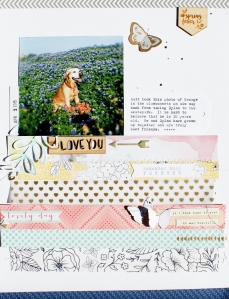
My challenge is to scraplift a card or layout.  I made a 9×12 layout inspired by Steffi’s beautiful layout, Dreamer.  I was drawn to her paper strips sewn onto her project.  Her design is simple, yet striking!  Here is my layout:

NSD 2015 Challenge

I enjoyed getting to use several of my favorite papers from past Studio Calico kits.  I used zigzag stitching and straight stitching to hold them in place and then cut the sprig with my Silhouette cameo and then watercolored it subtly.  I typed my journaling onto a tag and added a few details to embellish.

NSD2015 Detail by CraftingByNight

This layout captures our dog, George, in the bluebonnets.  I look forward to the bluebonnets in Austin every spring, and this year they were particularly stunning.  How are you spending National Scrapbook Day?  I hope you will leave a comment below or hop on over to my challenge for a fun scraplifting challenge and chance to win a Studio Calico prize!

Reorganizing Project Life Stash

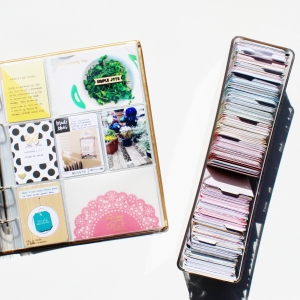
Project Life Storage by CraftingByNight.wordpress.comNow that I have been doing Project Life for a couple of years, I have built a stash of leftover cards and embellishments.  Although I am always eager to use my newest supplies first, I would like to bring in some items from my stash more regularly to use on current projects.  However, when the older supplies are tucked away, the problem has been “out of sight, out of mind” and they sit unused all too often.

I had been keeping all of my cards together by kit, but what if I sorted them by color instead?  Could that make it easier to quickly locate an item that would coordinate with my current projects?  I decided to try this new system, and here are some of my repurposed containers that worked well.

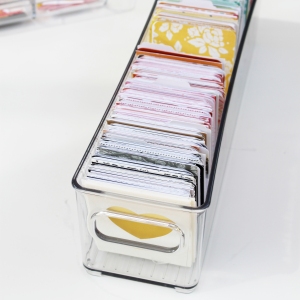
Using a refrigerator bin to store 3x4 cards
Using a refrigerator bin to store 3×4 cards

I cut some dividers with my Silhouette Cameo and grouped the 3×4 cards by color families.  The cards are easy to flip through to make a selection.

Close-up of sorted 3x4 cards
Close-up of sorted 3×4 cards
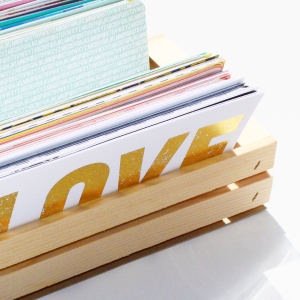
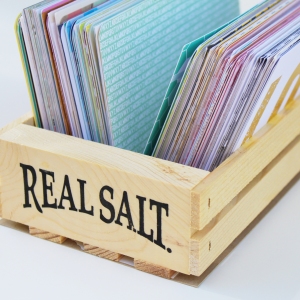
A small wooden crate for 4x6 cards
A small wooden crate for 4×6 cards

I used the same idea for the larger cards, and covered the bottom of the wooden crate with chipboard to contain the cards.  The wooden slats on the bottom actually help separate the cards when paging through them.

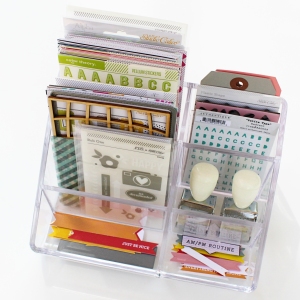
With my cards reorganized, I decided to see what else I could find from around the house to organize letter stickers and other often-used embellishments in Project Life.  A make-up organizer works great for keeping these items handy.

Repurposed make-up organizer for Project Life

One of the benefits of reorganizing my stash is remembering what I have, and I hope this will strengthen my resolve to be more selective and spend less when shopping for new supplies.

How do you sort your craft supplies?  Do you sort by manufacturer, kit, color, or some other method?  I’d love to know what works for you and what you find challenging about storing and using your stash.

5 Reasons to Get Crafty with a Planner

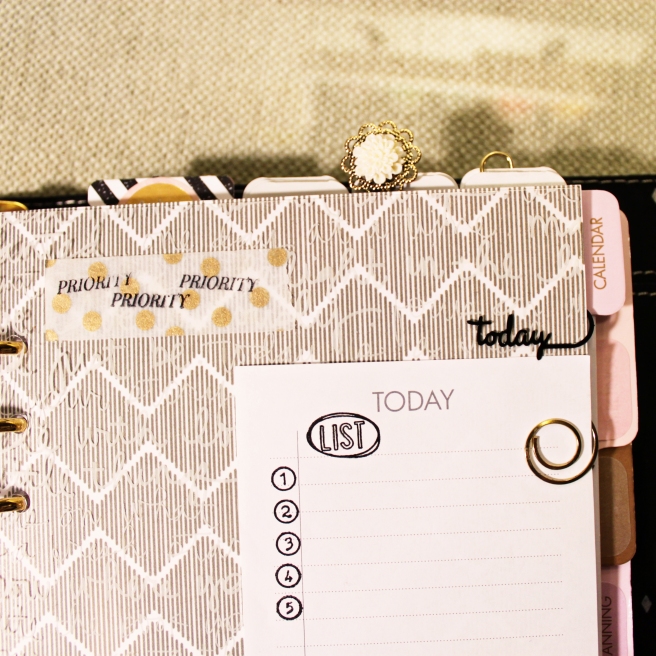
Planner Detail by Kathryn Quintana at CraftingByNight.wordpress.com

After several years of operating exclusively with my Google calendars, I went back to a paper planner last fall.  Here are 5 reasons for getting crafty with a planner:

1.  It’s a day-brightener.  I purchased my planner when I was going through some stressful changes at work, and having a pretty planner helped me stay focused on the good things in my life.  Tucking in a special photo or glancing at favorite embellishments gave me a little boost during the day.

2.  A planner is a capture tool.  Brain research has demonstrated that writing things down strengthens learning and remembering as this article in Scientific American, A Learning Secret:  Don’t Take Notes with a Laptop, explains.  Having one place to capture dates and to-dos helps me feel more together and focused.

3.  A planner keeps priorities center stage.  All tasks are not equal, and with the help of some pretty washi tape and stamps, staying focused can be a bit more fun.  Keeping lists and reminders on the dashboard keeps me on track, especially during small chunks of time and after interruptions.

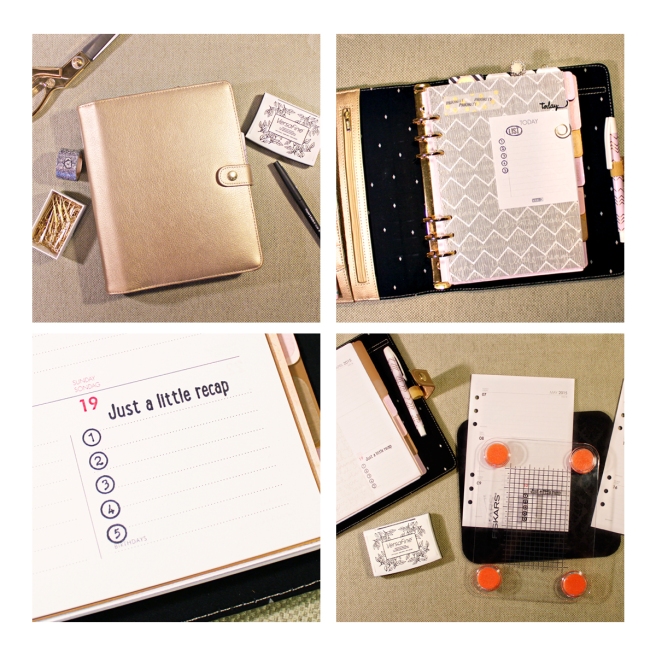
Planner by Kathryn Quintana at CraftingByNight.wordpress.com4.  The planner provides space for memory-keeping.  I like to stamp a space in my weekly spreads for listing what I want to remember from each week.  I stamp in batches by loading up my stamp press as shown above.   I typically stamp several weeks out, enough that I am not doing this weekly, but not so far out that I can’t switch to another stamp when I am ready for a change.  If you like the stamp I am using in my planner, it is from the April Life Pages Kit at Gossamer Blue.

5.  It is easy to customize.  I change out my sections based on what my life currently looks like.  It does not stay the same throughout the year.  For example, I am adding a section for planning this blog!

Getting crafty with a planner can be as simple or involved as you want it to be.  It is a work in progress, and a great opportunity to use up some favorite crafting supplies, and who doesn’t love that?  How about you?  Have you jumped on board the planner trend?

Organized Cards for All Occasions

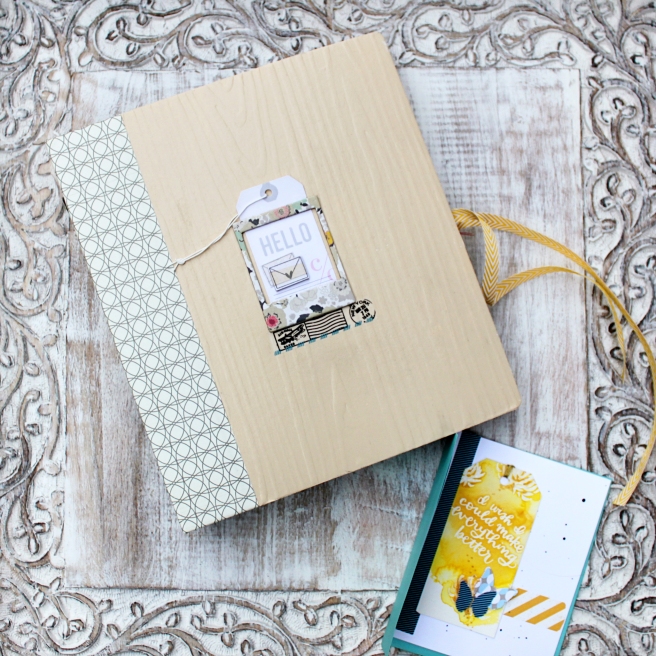
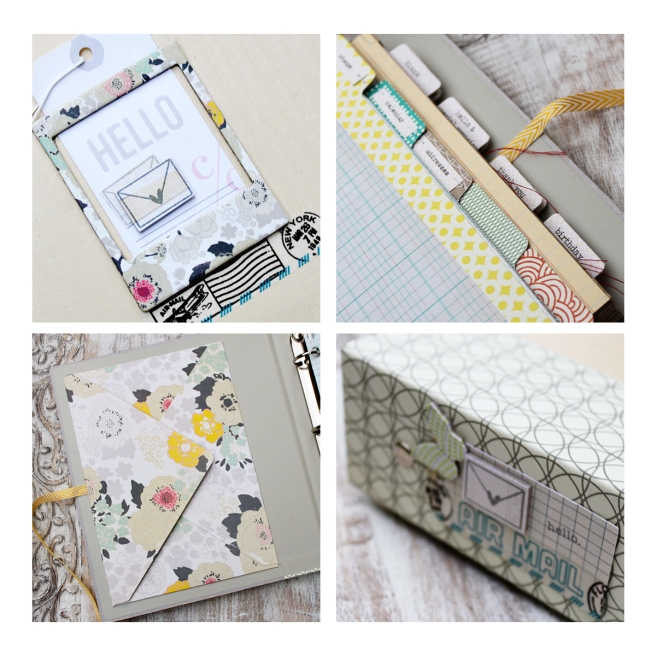
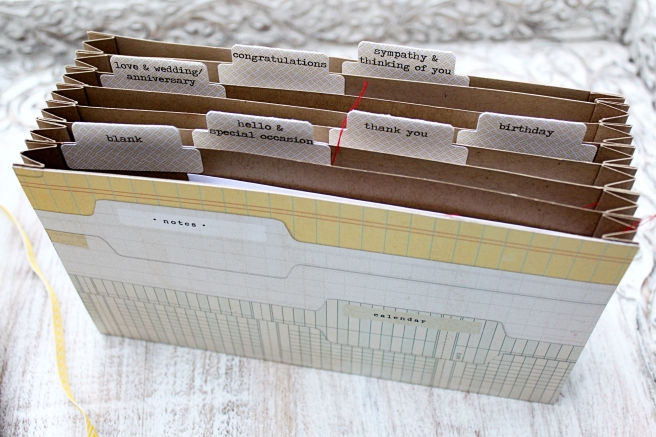
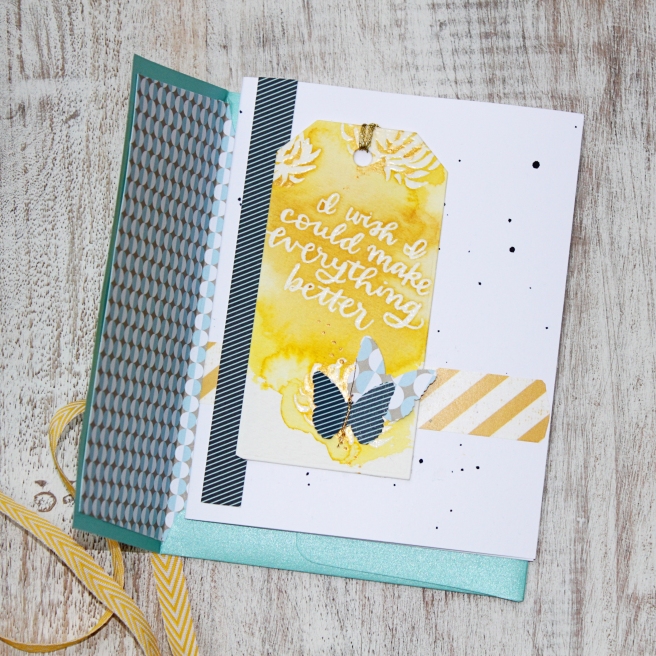
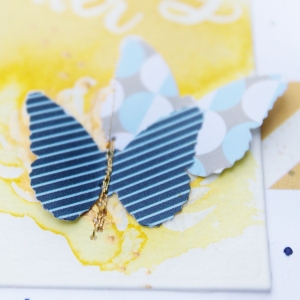
Card Organizer by Kathryn Quintana at CraftingByNight.wordpress.comOrganizing is almost as much of a passion for me as creating is, so I am delighted when I find an idea that combines both interests, such as this greeting card organizer based on the project in the Postmarked class at Big Picture Classes. Detail of Organizer by Kathryn Quintana at CraftingByNight.wordpress.comThe binder is a Basic Grey Capture album I found for a few bucks at Tuesday Morning.  I painted the cover with acrylic paint and then added a stamped design and embellishments to the front cover and spine.  I used the We r Memory Keepers envelope punchboard to create a large envelope on the inside  cover for holding spare envelopes and tags.  I kept the original dividers and page protectors and simply added labels which I typed with my vintage typewriter.  These organize monthly calendars, stamps, and addresses. Accordion File by Kathryn Quintana at CraftingByNight.wordpress.comThe best part of the binder is the accordion file which snaps in and out from the back cover with Velcro.  I made the file with kraft cardstock and my Silhouette Cameo using the digital cut files provided by Julie Campbell as part of the Postmarked class.  These dividers are labeled according to occasion and are designed to hold greeting cards. Now my mission is to fill the binder with cards for various occasions that come up throughout the year.  Most of the time, I make a card with the recipient in mind, usually for celebrations.  However, I have noticed lately that I’m lacking cards to express sympathy or offer comfort. Mixed Media Card by Kathryn Quintana at CraftingByNight.wordpress.comHere is a sympathy card I made using watercolor, gold acrylic paint, clear embossing powder, and materials from The Odyssey card kit from Studio Calico.  Cards provide a wonderfully small canvas on which to experiment with mixed media techniques.  I’m finding that I love combining mixed media with a clean look and white space. Butterfly Detail by Kathryn Quintana at CraftingByNight.wordpress.comMore information about the card organizer project can be found at BigPictureClasses.com.

Details of My Everyday

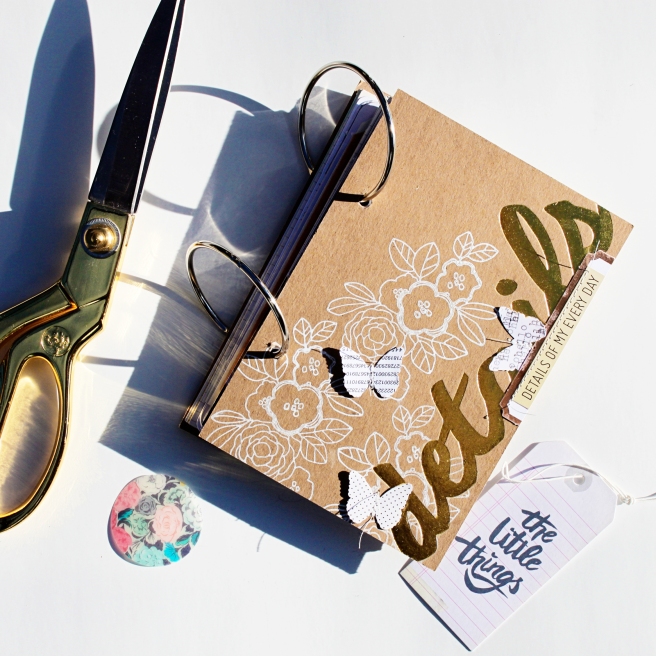
Cover by Kathryn Quintana at CraftingByNight.wordpress.com


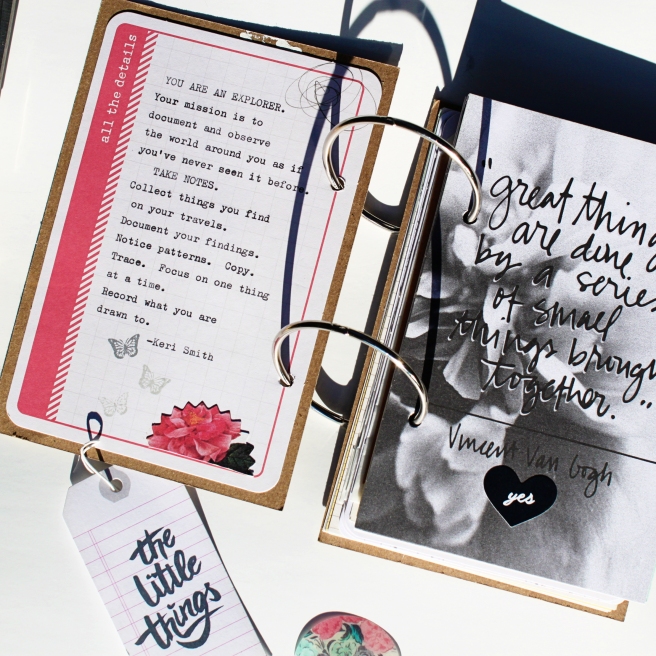
I am feeling inspired by the spring weather, and after much rain, the first bluebonnets are making their appearance all over Austin.  It was only natural that I reached for a floral stamp to create a pattern on my mini book, a project from the Studio Calico mini workshop taught by Tina Aszmus.  The  project is best explained by the quote by Keri Smith that Tina shared.  I typed the quote on the inside cover using my Olivetti Studio 44 vintage typewriter which I am still giddy about finding recently.Inside Cover by Kathryn Quintana at CraftingByNight.wordpress.com


The quote on the opposite page is from my favorite artist, Vincent Van Gogh, and sums up my current life focus.  This expresses the idea behind the project, to focus on and appreciate the details, the small things, and lay down the fertile soil from which greater things can grow.

More information on this workshop is available at StudioCalico.com.